手動切 AWS Profile 太麻煩?試試 Granted,多帳號管理神器助你效率倍增!
由於 AWS 的服務越來越多,很多時候我們需要在不同的 AWS Account 之間切換來操作,不管是使用單純使用 IAM User 產生 Access Key,或是用 AWS SSO,都會需要頻繁的切換 AWS Profile,如果 AWS SSO 每一個 Account 還有不同的 Permission Set,那就更麻煩了。
因此如果有一套好用的工具,可以讓我們更方便的切換 AWS Profile,那就太棒了!
今天就來介紹一個這樣的工具,叫做 Granted。
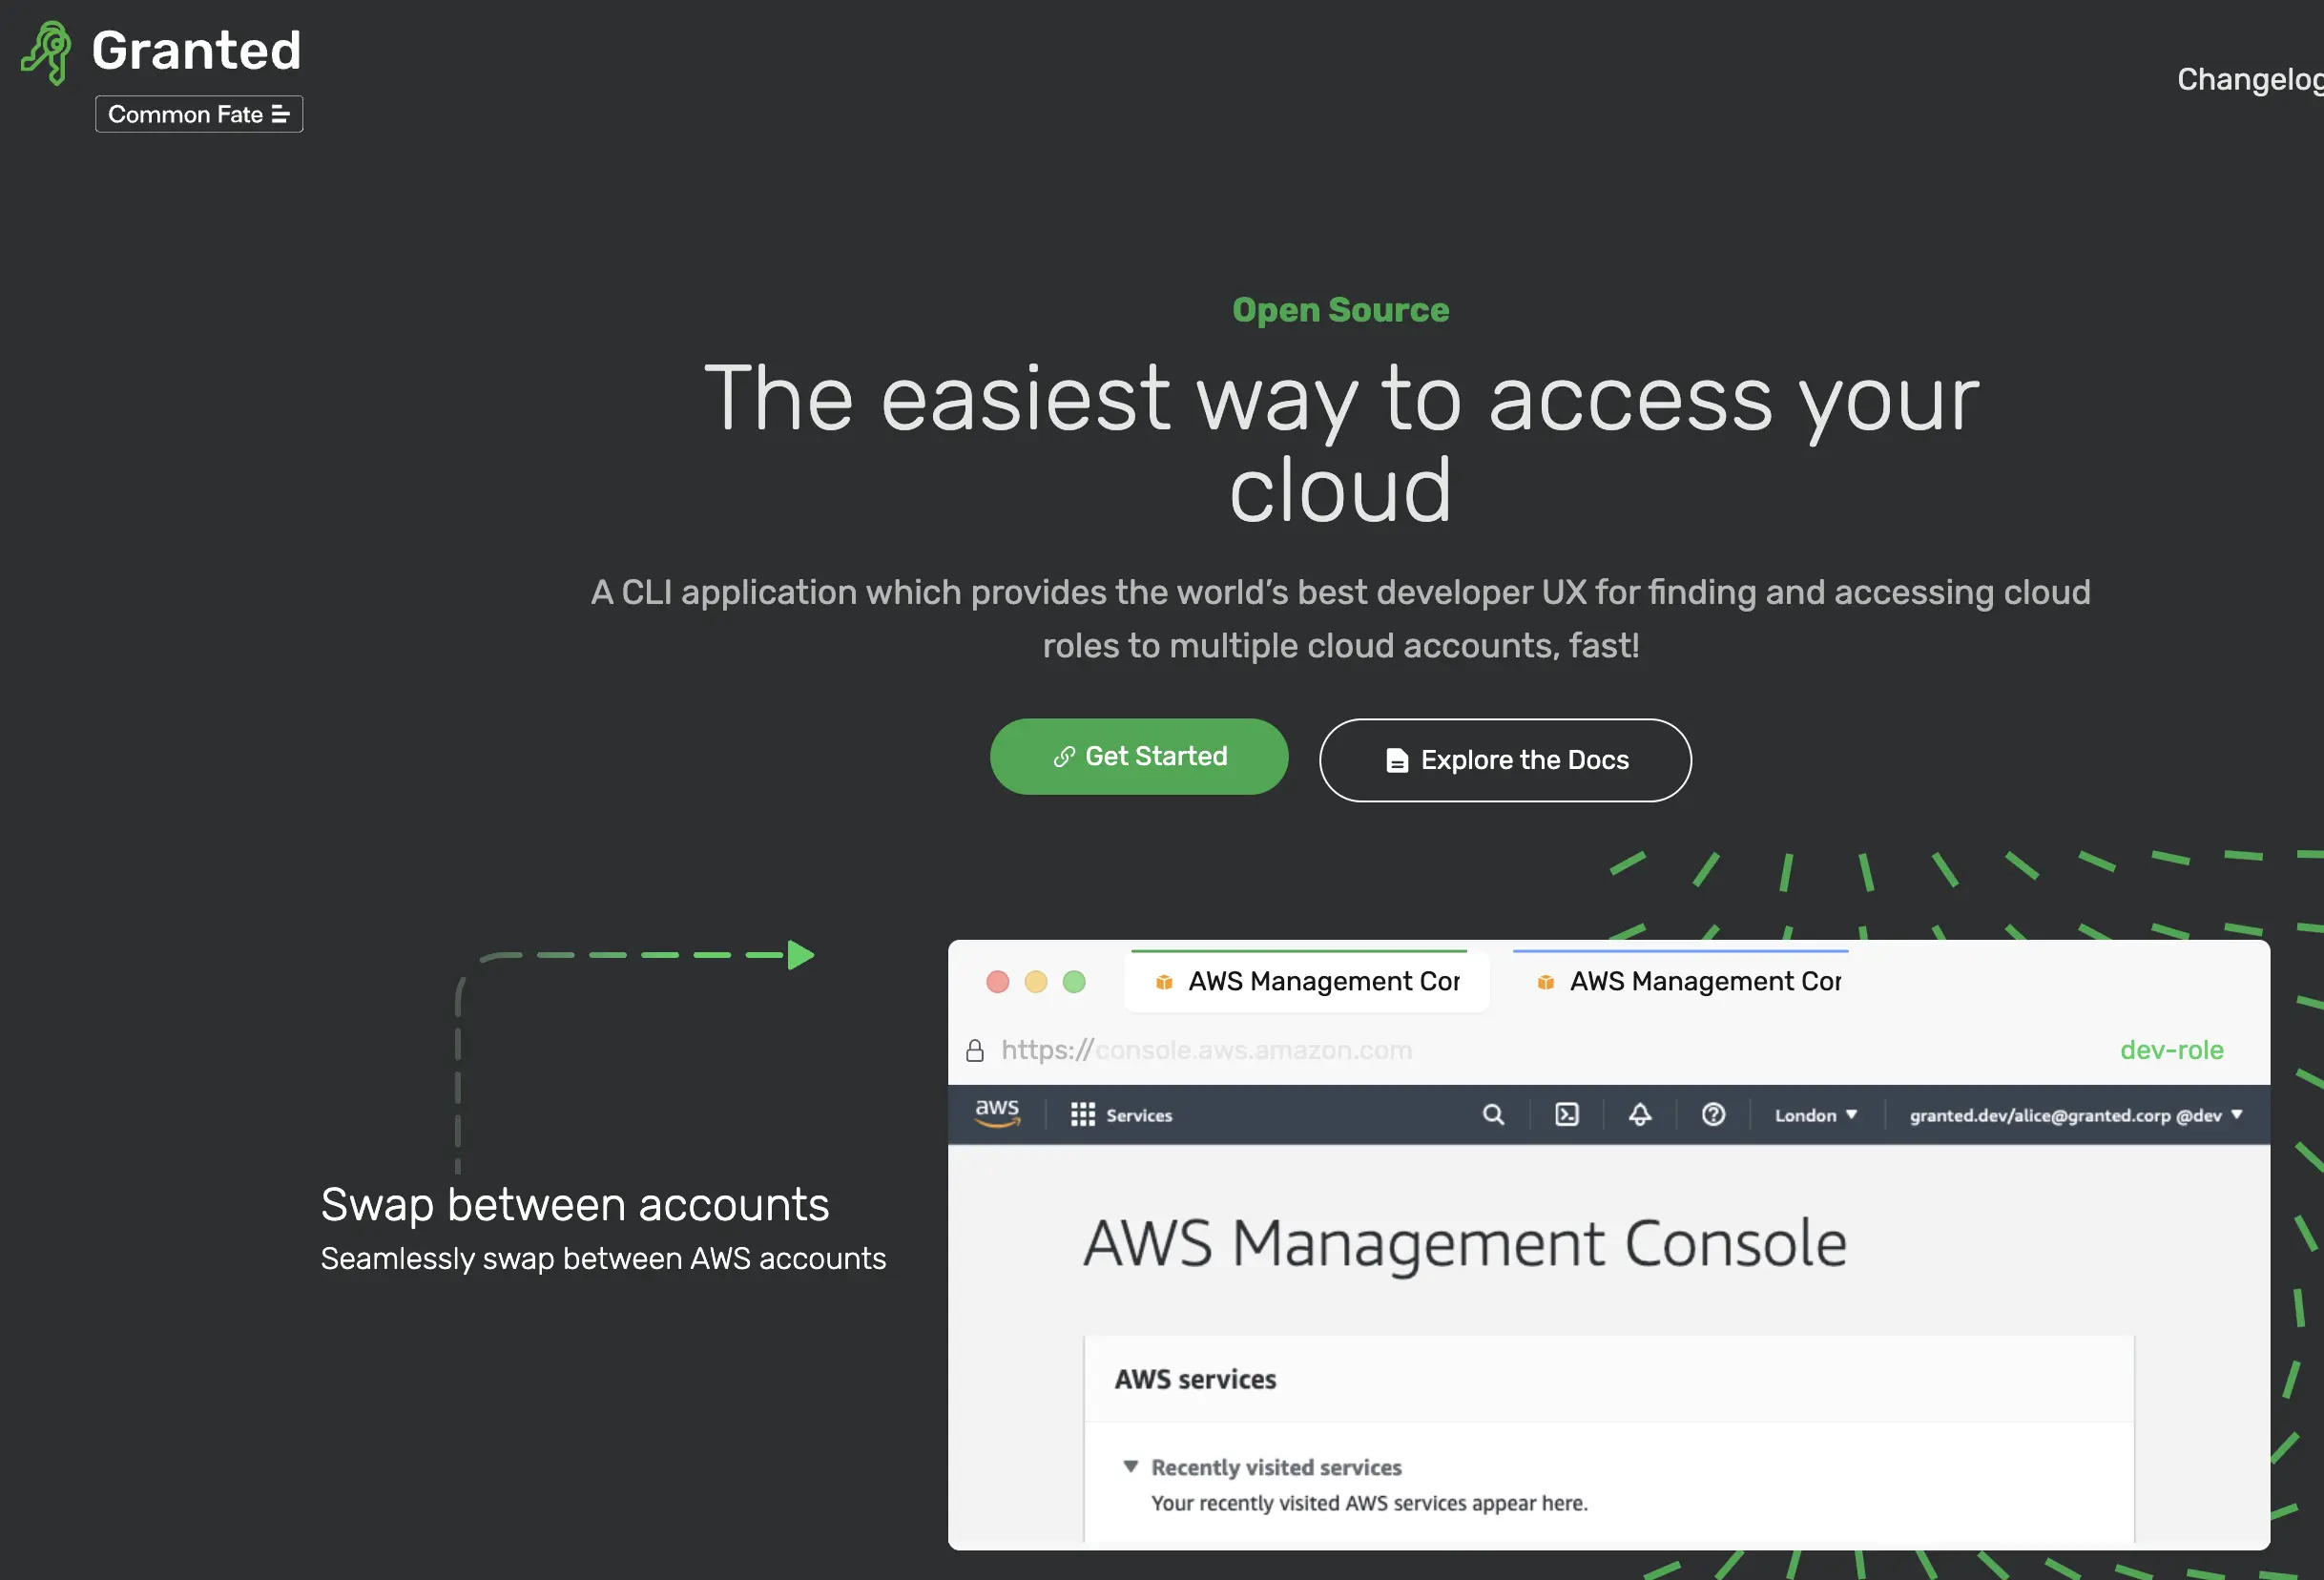
什麼是 Granted?
Granted 是一個用來管理多個 AWS Account 的工具,它可以讓你更方便的切換 AWS Profile,還支援使用瀏覽器開啟對應的 AWS Account Console 管理介面。
如何安裝 Granted
- 首先,我們使用 Homebrew 來安裝 Granted:
brew tap common-fate/granted
brew install granted
brew install common-fate/granted/granted # 2025/11/14 更新 (原因請看下方)
(如果其他作業系統,請參考 Granted 官方網站 的安裝說明)
2025/11/14 更新:
剛好在更新 mac-install-kit 一鍵安裝腳本時發現,使用 brew install granted 安裝好後,沒辦法下 assume 指令,之前都是正常的
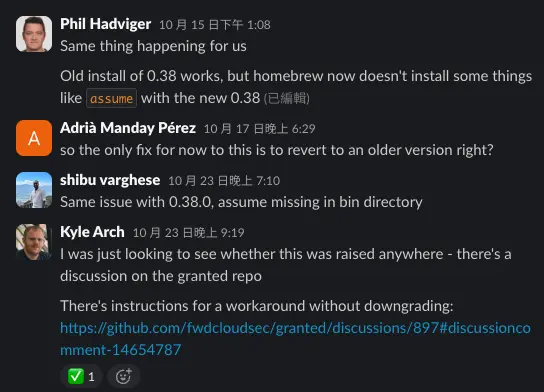
深入研究後發現,應該是因為原本維護 Granted 的 Common Fate 即將解散,相關公告可以點我查看,要轉移給 fwd:cloudsec,fwdcloudsec Granted Repo 連結,猜測是官網已經有點久沒更新,或是再維護 tap 的時候尚未討論好
此問題會在 v0.38 版本的時候會出現 (v0.37 正常),查看ㄧ下 Common Fate Slack 發現,也有人遇到相同問題,目前的解決辦法是:改使用 brew install common-fate/granted/granted 來安裝,詳細請參考:What’s going on with Homebrew? #897
- 安裝完成後,使用以下指令確定 Granted 已經安裝成功:
granted --version如果有顯示版本,就代表安裝成功,例如:
Granted version: 0.38.0如何使用 Granted
在使用前,我們需要先做一些初始化,可以先 assume 來設定:
assume

[i] Thanks for using Granted!
[i] By default, Granted will open the AWS console with this browser: Chrome
[!] Granted works best with Firefox but also supports Chrome, Brave, and Edge (https://docs.commonfate.io/granted/introduction#supported-browsers). You can change this setting later by running 'granted browser set'

? Use Firefox as default Granted browser? (y/N)
這邊可以先設定預設的瀏覽器,建議使用 Firefox,因為 Granted 在 Firefox 上的支援度較好。
提示
如果已經設定好預設瀏覽器,之後想要調整,可以使用 granted browser 來更新。
第二次再重新執行一次 assume,就會出現以下畫面:
assume

ℹ️ To assume roles with Granted, we need to add an alias to your shell profile (https://docs.commonfate.io/granted/internals/shell-alias).
? Install zsh alias at /Users/<username>/.zshenv Yes

Added the Granted alias to /Users/<username>/.zshenv

Shell restart required to apply changes: please open a new terminal window and re-run your command.
來設定 shell 的 alias,這樣就可以在任何地方使用 assume 指令了。
測試切換 AWS Profile
接下來我們可以先測試一下 assume 指令是否可以正常切換 AWS Profile。

提示
上面出現的 Profile 名稱是從 ~/.aws/config 檔案中取得的,如果沒有設定過 AWS Profile,可以上一篇文章 AWS SSO Profile 設定介紹 來設定。
切換成功後,會顯示如下: 如果沒有驗證,或是需要重新驗證,一樣會跳出瀏覽器來驗證
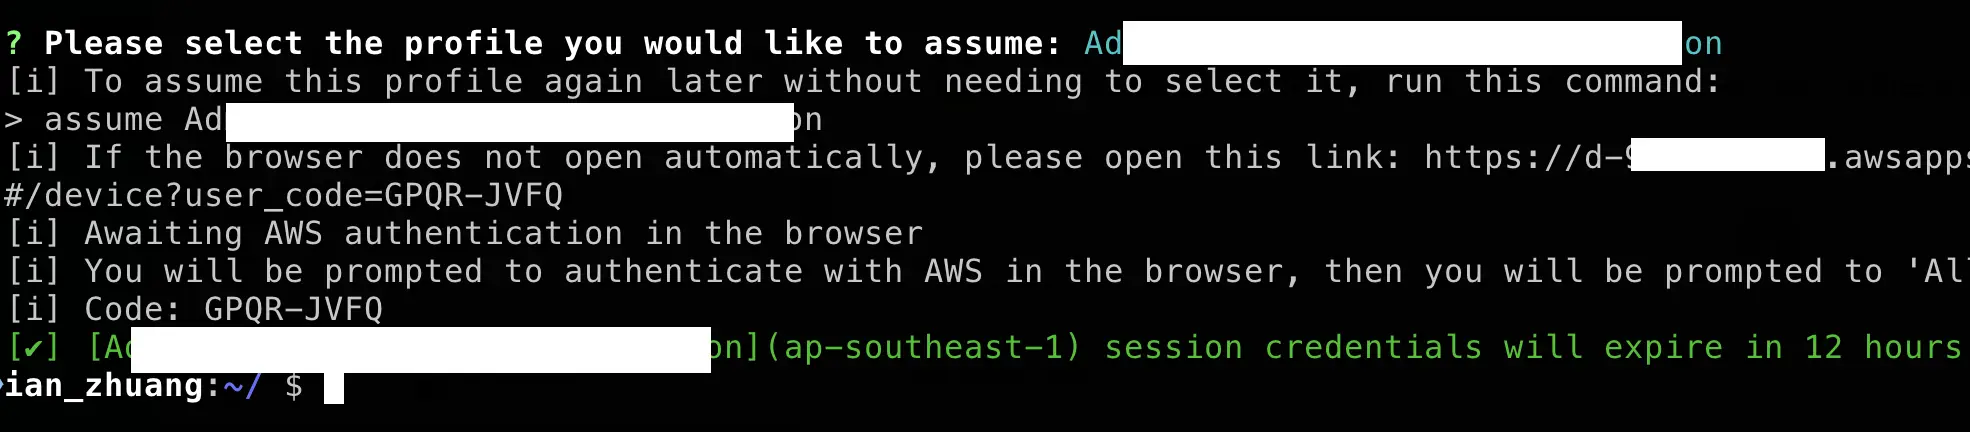
可以看到,這個登入的 Profile 有效期限是 12 小時,這樣就可以在這個時間內使用這個 Profile 來操作 AWS 服務了。
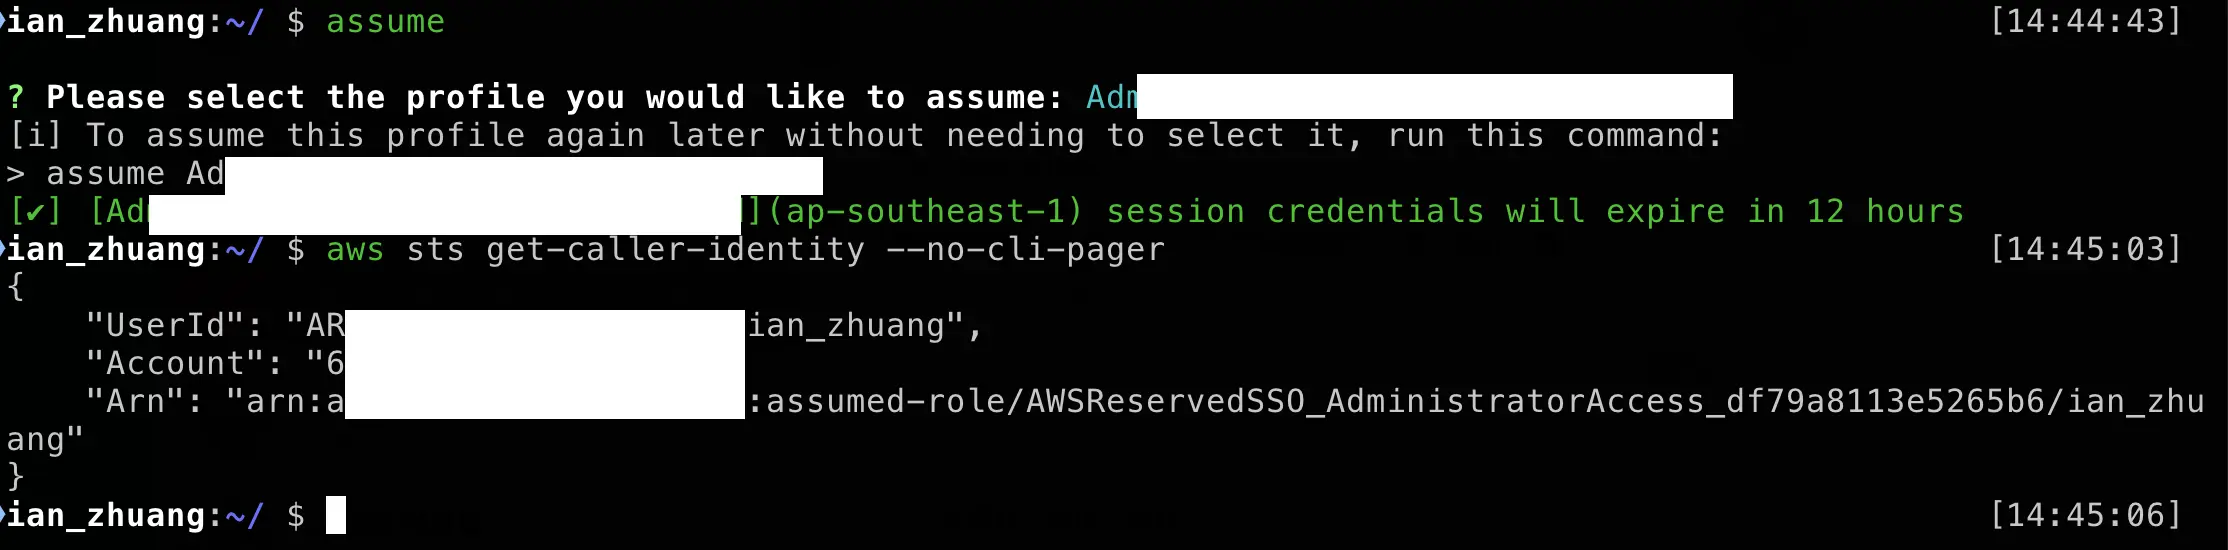
要怎麼知道目前登入的是哪一個 Profile 呢?可以使用以下指令:
aws sts get-caller-identity --no-cli-pager
我們也再次切換 Profile,並使用指令查看是否有正確切換到新的 Profile:
開啟 AWS Console
有時候我們除了使用 CLI 指令來操作或是查看,更多的時候,還是會開啟 AWS Console 來進行操作。
那以往我們都需要到 AWS SSO 網頁來選擇對應的 AWS Account 以及 Permission Set,才可以進到對應帳號來查看相關資源。
現在我們可以在 assume 後面加上 --console 或是 -c 參數,這樣就可以直接開啟對應 AWS Account 的 Permission Set 權限的 AWS Console 了:

或是多加上 --serviceor -s 參數,這樣就可以直接開啟對應的 AWS 服務頁面:

可以快速開啟的資源清單可以參考:https://github.com/fwdcloudsec/granted/blob/main/pkg/console/service_map.go
參考資料
Granted 官方網站:https://granted.dev/