Google Cloud Platform (GCP) - Cloud Source Repositories
發布於 2022-07-03 / 最後更新於 2025-08-08
跟大家介紹一下今天的主題 Cloud Source Repositories,聽到 Source Repositories 是不是感覺跟什麼東西很像呀,沒錯,就跟我們的 GitHub or GitLab 一樣,可以用來存放我們的程式碼的儲存庫,我們來看看官方怎麼介紹他吧:

很好歐,非常簡單明瞭 🤣,沒錯,Cloud Source Repositories 就是託管在 Google Cloud 上功能齊全(?)的私有 Git 儲存庫。為什麼會打一個問號呢?是因為他其實沒有那麼好用,所以我們通常的做法,還是會依靠 GitHab 或是 GitLab 來存放程式碼,再透過鏡像 (mirror) 的方式到 Google Cloud Source Repositories。 那我們就開始囉~
Cloud Source Repositories 測試
建立 GitLab Project
首先,我們用 GitLab 來當示範,如何透過鏡像 (mirror) 到 Cloud Source Repositories 上面,我們先在 GitLab 上建立一個 Project:

使用 gcloud 指令建立 Source Repo
- 首先,一定要先裝
gcloud指令到本機,這個步驟,前面文章也有說過,這邊就不在說明,我們先使用一下指令來查看目前所在的 GCP 專案:
gcloud config get-value project正常來說,如果有先用 config 設定好,會直接跳出你目前的專案 ID,如果沒有跳出來,請使用下面指令來設定:
gcloud config set project <project id>- 接著我們要啟動該專案的 Cloud Source Repositories API:
gcloud services enable sourcerepo.googleapis.com- 創建 Cloud Source Repositories
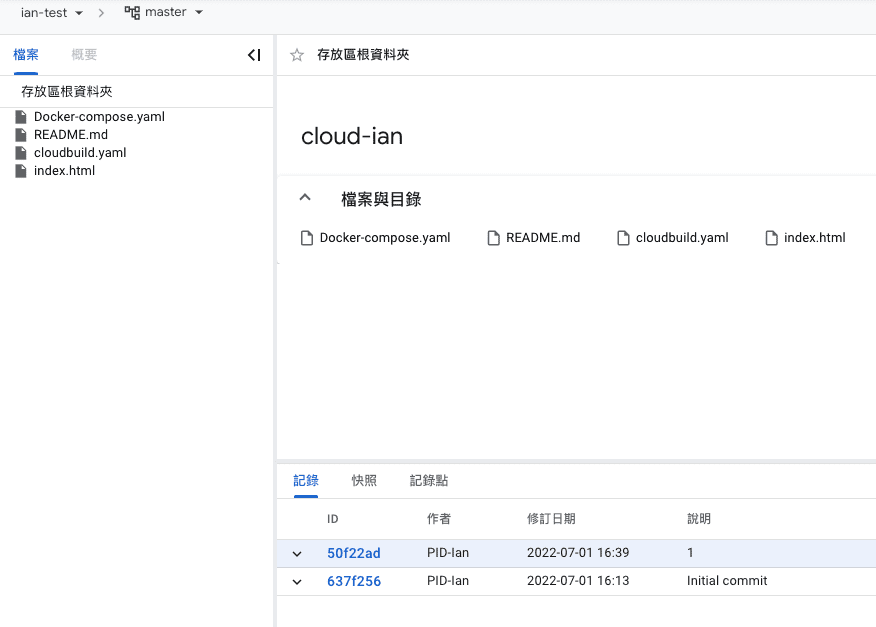
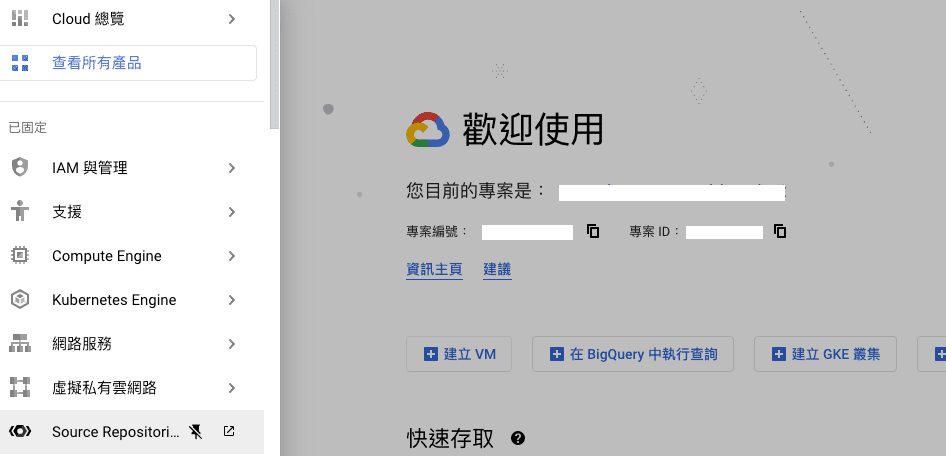
gcloud source repos create <repo name>- 完成後,開啟 GCP 檢查一下是否有建立成功~點擊左側 menu > Source Repositories,
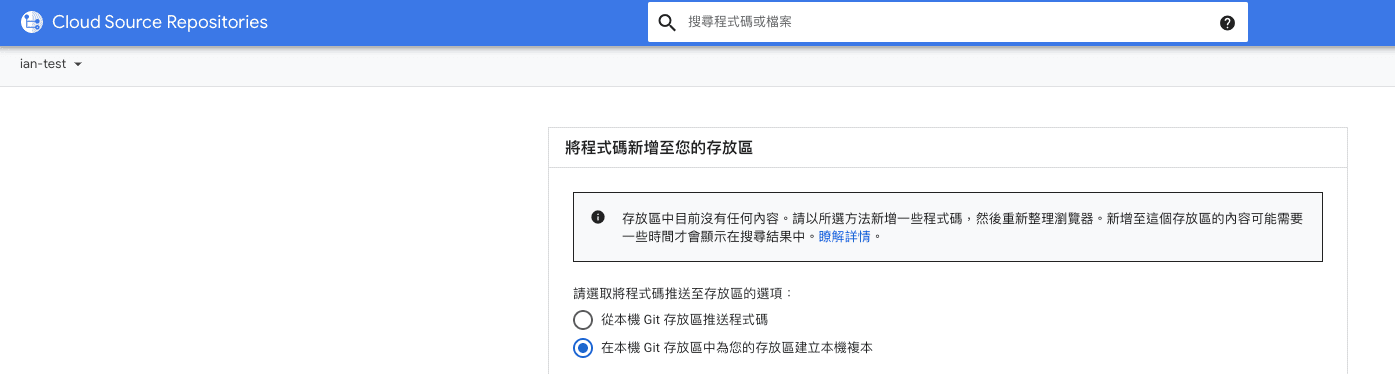
將程式碼新增至存放區中
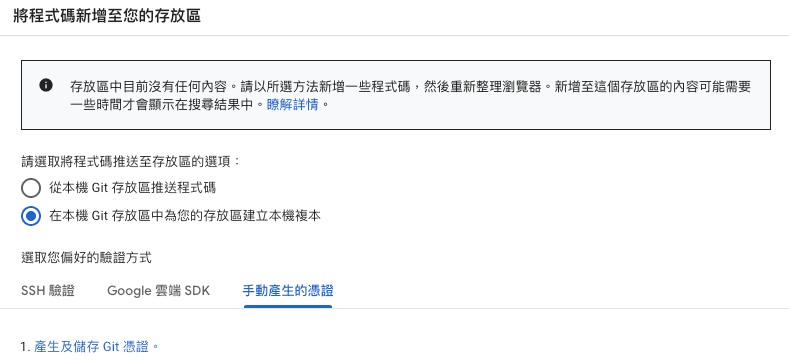
- 我們要在這一步來設定鏡像 (mirror),首先我們看剛剛上面建立好的 Source Repositories,其中有一個手動產生的憑證,點選 產生及儲存 Git 憑證
- 點完後會需要先登入你的 GCP 帳號,登入完後會出現以下內容:
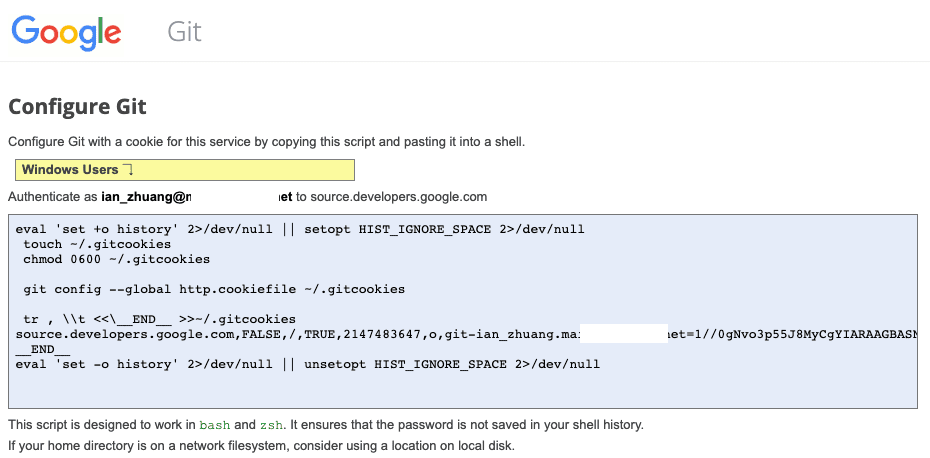
- 接著把藍色框框內的輸入到終端機內
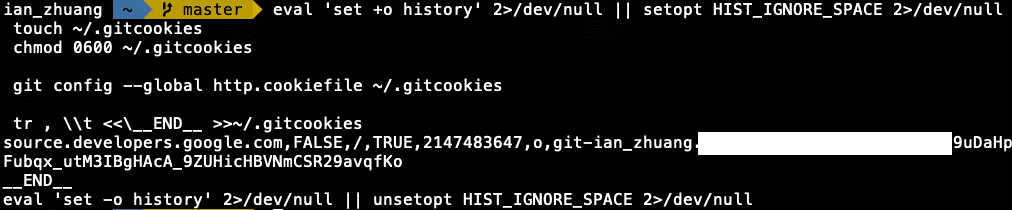
- 接著請複製以下指令貼到終端機內,會生成憑證密碼:
grep 'source.developers.google.com' ~/.gitcookies | tail -1 | cut -d= -f2
- 接著請複製以下指令貼到終端機內,將用戶名存儲在 CSR_USER 環境變量中:
CSR_USER=$(grep 'source.developers.google.com' ~/.gitcookies | \
    tail -1 | cut -d$'\t' -f7 | cut -d= -f1)
- 接著請複製以下指令貼到終端機內,將 GCP 存儲庫的 URL 存儲在 CSR_REPO 環境變量中 (repo name 要改成你在 gcp 上面的 repo):
CSR_REPO=$(gcloud source repos describe <repo name> --format="value(url)")
- 接著請複製以下指令貼到終端機內,將存儲庫的 URL(包括用戶名)印到終端機上:
echo $CSR_REPO | sed "s/:\/\//:\/\/${CSR_USER}@/"
經過上面操作,我們可以在第 4 步驟拿到密碼,以及在第 7 步驟拿到完整的 GCP URL,接著我們要到 GItLab Mirror 來設定鏡像。
到 GitLab Mirror 設定鏡像
- 先從右側 muen > 選擇 Settings > 點選 Repository,找到 Mirroring repositories
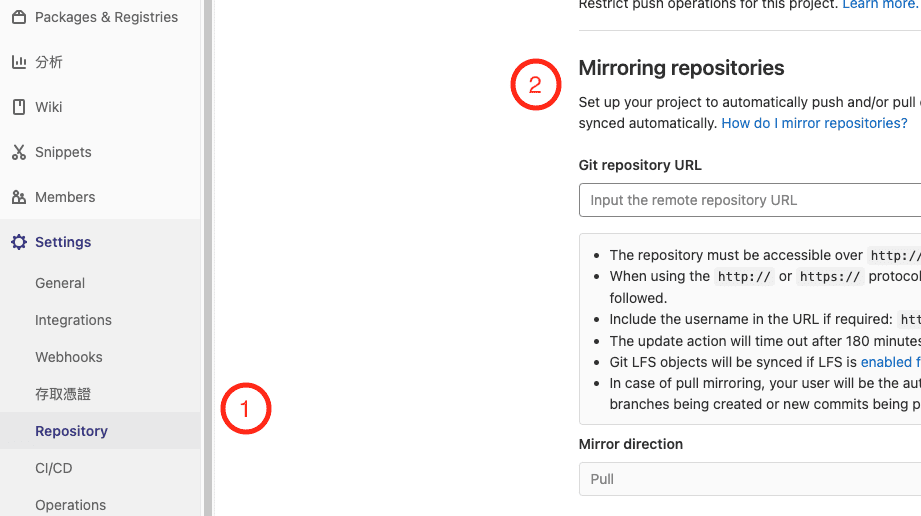
- 將剛剛拿到的 URL 以及密碼各別輸入 Git repository URL 以及 Password,記得要選擇 Mirror direction,因為我們是要將 gitlab 的鏡像到 GCP 的 Cloud Source Repositories,所以我們要選擇 PUSH,最後按下 Mirror repository:

如果沒有跳出錯誤,基本上是沒有問題了!

- 就可以試著在 gitlab 上面推程式,看看有沒有跑到 Cloud Source Repositories 上面囉!